
Quilting Rules (That May Not Be)
When I started quilting I consumed YouTube videos, how-to blog posts, and read numerous quilting books. I ultimately joined some quilting groups on Facebook and then a local guild. These resources were incredibly valuable to a new quilter (and still are!), but led me down the path of so many quilting rules. How many rules are there? and….What happens if I do not like the rule? Also – why are there opposing rules?!?! After so many trials and lots of error, here is what I discovered to be true for me.
There are actually very few real rules and a whole lot of personal preference refined by experience.
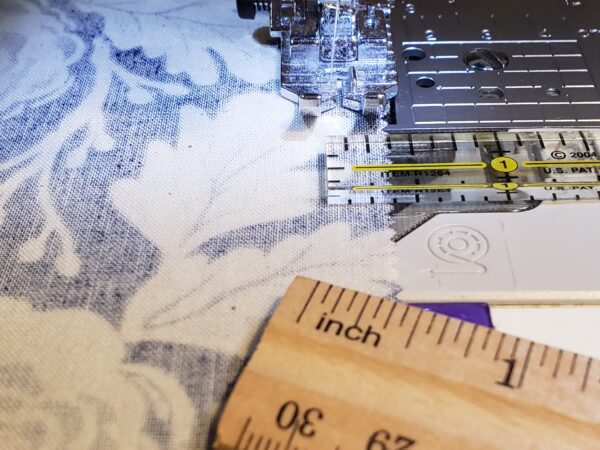
1. The 1/4″ Rule that is a really good rule.
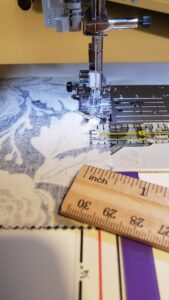
Yes, a 1/4″ seam is a good rule to follow….unless you are using a scant quarter inch. Then follow that one. For me, I found I just need to be consistent and as close to 1/4″ as possible. It is worth it to practice and align your quarter inch. You will have far less frustration and things will fit better. Also – You can use whatever you want to find and mark your 1/4″ – your kids school ruler or a quilting ruler, a seam gauge, my favorite Cluck Cluck Sew Diagonal Seam Tape, or numerous sewing edge markers…. Do yourself a favor and take the time to get this marked on your machine. This is one rule you should try to follow as closely as you can.
2. The Starch “Rule” that’s not really a rule….and the great pre-wash debate.
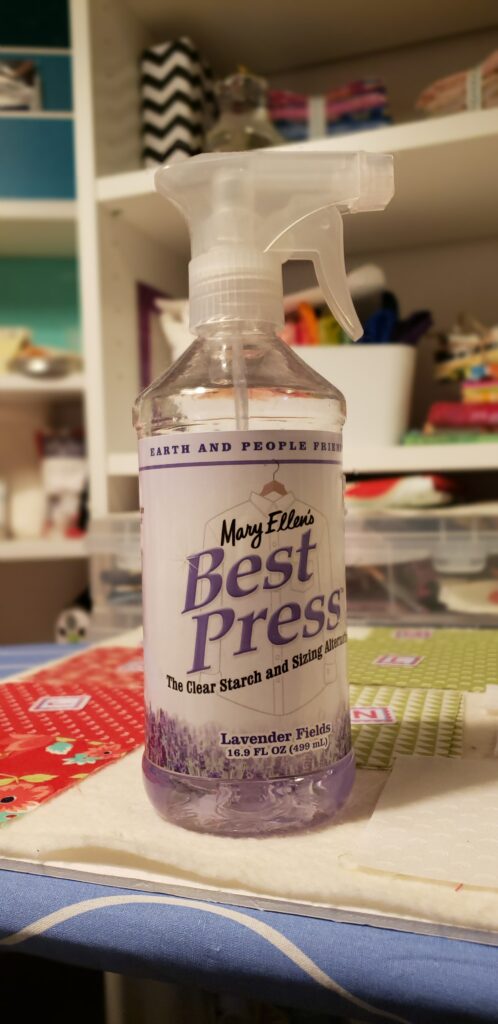
The great starch debate is one of those personal preferences that often get discussed as a rule. You can starch, you can not starch. You will still end up with a beautiful quilt at the end. Team starch knows that bias edges stretch less and that crisper fabric can pass through the machine with less trouble. Team no-starch knows that practice will keep you from stretching non-starched bias edges and clean feed dogs and a sharp needle will move the fabric through- so why bother with starching? My advice – try both and see what you like.
Similar to the starch rule is the pre-wash rule. You can do it or not….either way is fine- except when its not….The fabric sizing in unwashed fabric makes it easier to cut and sew. There are lots of reasons this “prewash rule” exists – To avoid fabric bleed (especially older fabric dye’s and red fabric) and to avoid shrinkage after piecing seem to be the strongest arguments I have found. You can test this by wetting a piece of the fabric and pressing it between two paper towels. If the fabric dye transfers, it is best to prewash. I have prewashed and not prewashed and found no difference personally. I know others who have had troubles….Perhaps I will update this post if I run into an issue down the road, but for now I am putting this in the questionable rule category with some caution signs to test before you move forward.
3. Pressing Rule(s) – Oh so many pressing “rules”…
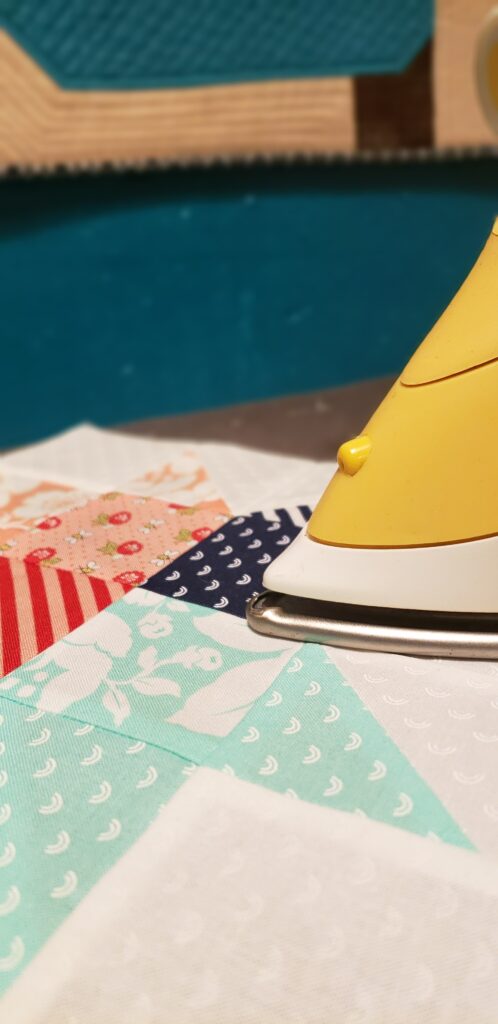
Oh the pressing rules you will find….Steam/No Steam, to the dark or natural way the fabric wants to go, press open/to the side….
Lets start with the steam debate….I use steam. Steam relaxes the fabric (like a little sauna) and helps the fabric lay down. My seams lay flatter because of it. I also use a quilter’s clapper. I don’t iron my seams, I press them. I lift up and down, not pushing side to side. This works for me. You can still get flat seams without steam and have more freedom to push the iron a bit because the fabric doesn’t stretch as much.
Pressing to the dark or the way the seam wants to lay naturally….this one is a bit tricky. Sometimes the universe aligns and both of these things happen at the same time. Sometimes you need to plan ahead to make it so. And sometimes it does not matter at all. What happens when you don’t press to the dark? You may see the shading of the darker fabric under the lighter fabric. My advice – Decide if it bothers you and press accordingly.
I am a press to one side kind of girl – mostly. Pressing to one side reduces the likelihood that you are curled up on the couch with a cup of cocoa in front of a fire watching sappy Hallmark movies with your favorite snuggly minky backed lap quilt only to realize that a seam is splitting (insert sad face here!). Sometimes you need to press open because the block is tiny and there are lots of seams. Just be careful that you secure the seam well if you press open.
4. Close your rotary cutter – Seriously – do it right now.
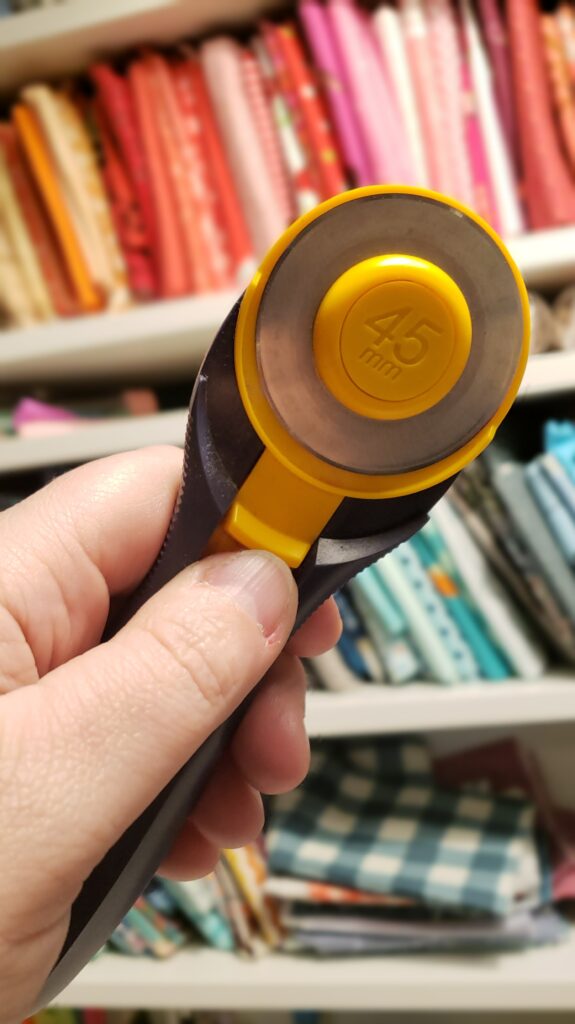
If this isn’t an actual rule, it should be. Rotary blades are round razor blades that sneak up on you when you least expect it. Perhaps you are a barefoot quilter and you are moving thing around your cutting space and it falls on the floor? Good thing your cat-like reflexes saved you this time….
5. You must attach your binding by hand.
I remember sitting at my first guild meeting waiting for it to start and a well-intentioned (and very experienced) quilter sitting next to me made the statement, “I always hand bind my quilts because I really love the people I give them to.” I remembered that statement and thought that hand binding was vital – I mean without the extra work, clearly I would be giving an inferior gift. At that time, I had no idea how to hand bind and felt less of a quilter as a result.
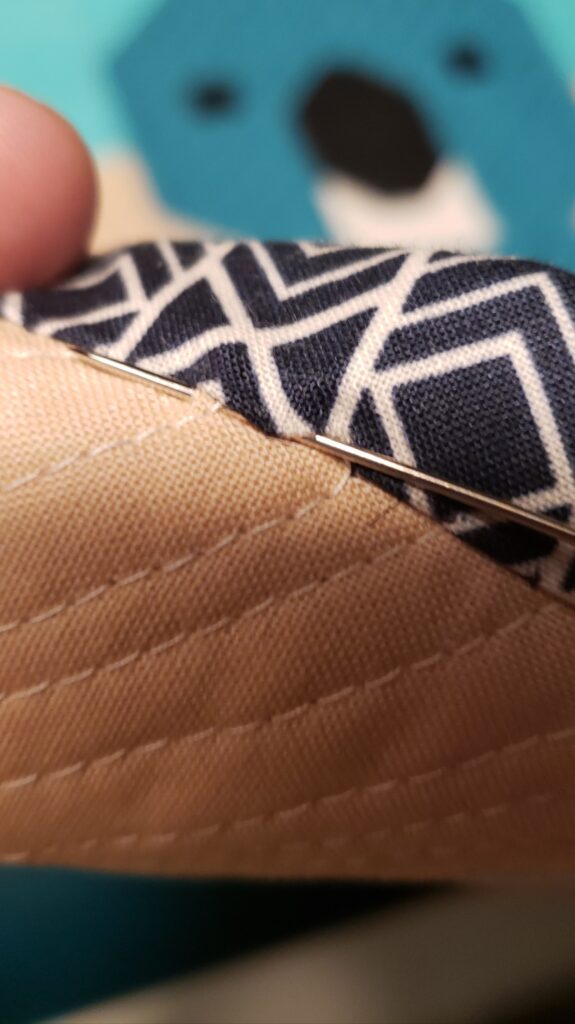
Here’s the reality – most people you gift a quilt to don’t know or care about how the binding was attached. And if it’s a kids quilt, the machine binding is probably more secure. Also – if your machine has fun decorative stitches or you use variegated thread, you can really make your binding a highlight of the quilt.
Truth be told, I do hand bind most of my quilts now. I want to sew but the bedrooms are on the second floor and my sewing room is in the basement and my three-year-old is asleep. I don’t like to be that far away if she were to wake. I can sit in my room and turn on Netflix and stich away. I do not hand bind because I think it makes a better quilt or me a better quilter. I do it because I have learned to enjoy the process